
Your roof is one of the most critical parts of your home. It shields you from the elements, provides insulation, and contributes to your home’s structural integrity. Yet, it’s easy to overlook your roof until there’s a noticeable problem—like a leak or missing shingles. By proactively inspecting your roof, you can:
- Address minor issues before they become costly repairs
- Feel confident in your home maintenance abilities
- Know when to call in a professional roofer
Conducting regular roof inspections, whether by yourself (if you feel comfortable) or by hiring a professional, is essential to maintaining the longevity of your home. To help you get started, we’ve put together the ultimate roof inspection checklist that covers all the essentials for not only your residential roof, but also for multi-family roofing projects.
Why a Roof Inspection is Essential
Before we jump into the checklist, let’s talk about why inspecting your roof should be a priority:
- Prevent Costly Repairs: Small problems, like a loose shingle or minor leak, often go unnoticed. Over time, these issues can spiral into much larger repairs, costing hundreds or even thousands of dollars.
- Prolong Roof Lifespan: Regular maintenance helps you maximize the lifespan of your roof. A properly maintained asphalt roof, for instance, could last 20–30 years instead of being replaced prematurely.
- Protect Your Home: A damaged roof can compromise the safety and comfort of your home. Issues like leaks can lead to mold growth and water damage, which affects both your property and your health.
- Insurance Benefits: Many insurance policies require proof of regular roof inspections and maintenance to cover any roof-related claims. Staying on top of inspections can save you headaches during the claims process.
Now that we’ve established its importance, here’s your comprehensive roof inspection checklist to ensure your home remains safe and sound.
Our 10-Step Roof Inspection Checklist
Routine inspections are crucial to maintaining your roof’s condition and longevity. To help streamline the process, we’ve compiled a detailed checklist that covers everything from visible wear and tear to hidden vulnerabilities. By following this roof inspection checklist, you can ensure that every aspect of your roof is thoroughly examined and any potential issues are identified early. Whether you plan to conduct the inspection yourself or hire a residential roofing professional, this checklist will serve as a valuable resource in safeguarding your home.
1. Prepare for Safety First
The first step in inspecting a roof is prioritizing safety—never allow safety to take a back seat during this process. Here are some safety tips:
- Use a sturdy ladder with non-slip feet.
- Wear non-slip shoes with a good grip.
- Avoid climbing onto your roof in windy or rainy conditions.
- If you’re uncomfortable with heights or unsure of the process, hire a professional inspector instead.
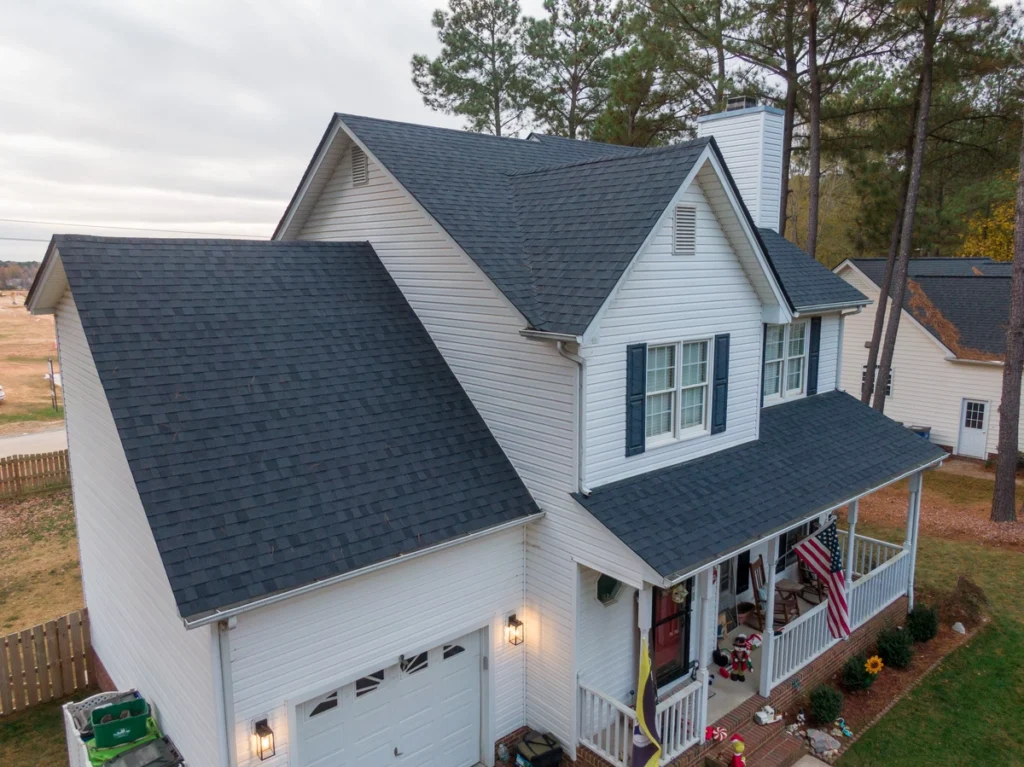
2. Inspect from the Ground
You don’t necessarily need to climb onto your roof for a basic inspection. Start by observing your roof from the ground with a pair of binoculars. Walk around your home and check for the following:
- Missing or curled shingles.
- Cracked or damaged tiles (for tile roofs).
- Dark patches or discolored areas on the roof.
- Visible sagging, which could imply underlying structural damage.
- Accumulated debris, such as leaves or branches.
This preliminary step provides an overview of noticeable problem areas that may require closer examination.
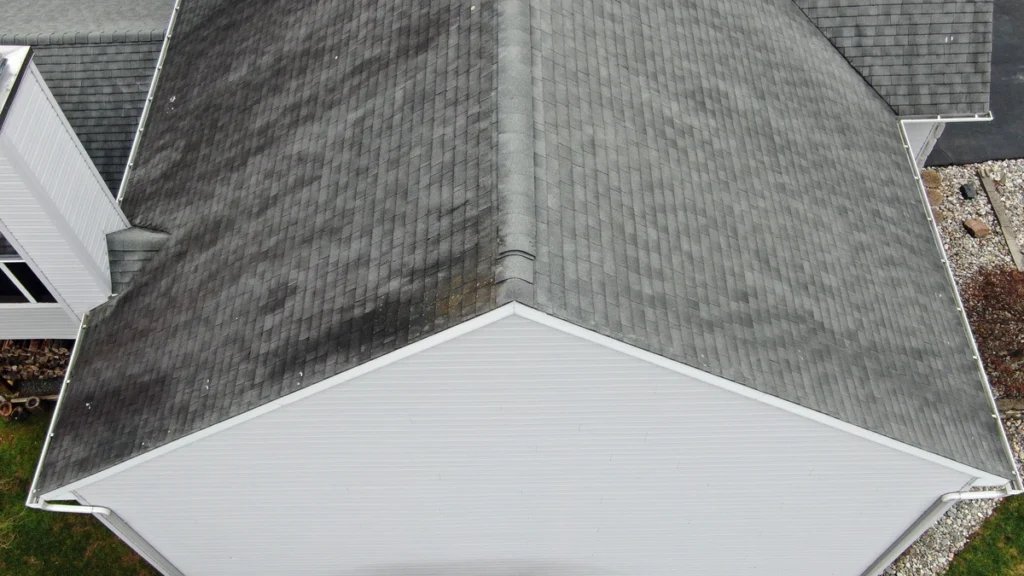
3. Look for Damage to Shingles/Materials
Climb onto your roof if it’s safe to do so (or hire a professional), and carefully examine the condition of your roofing materials:
- Asphalt Shingles: Look for cracked, curling, or missing shingles. Pay attention to granule loss—if you see bare patches on your shingles, they might be nearing the end of their lifespan.
- Metal Roofs: Check for rust spots, loose screws, or punctures in the metal sheeting.
- Tile Roofs: Inspect for cracked or broken tiles that can leave your roof vulnerable to leaks.
Any damaged materials should be replaced immediately to prevent water infiltration.
4. Check the Flashing and Seals
Flashing is the metal material installed around chimneys, skylights, and seams to create a watertight barrier. Examine these areas for:
- Loose or damaged flashing.
- Rust or corrosion.
- Gaps in caulking or sealant.
Damaged flashing is a common source of leaks, so pay close attention to these areas on your roof.
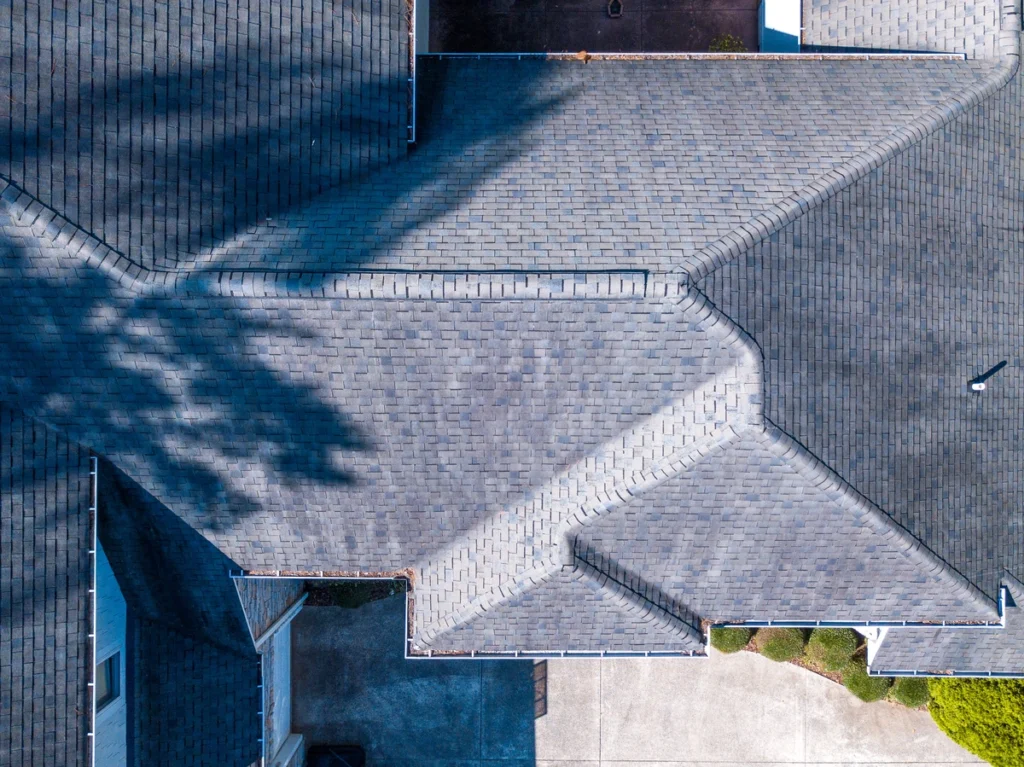
5. Inspect Roof Valleys
Roof valleys, where two slopes meet, are prone to water accumulation and damage. Ensure these areas:
- Are free from debris like leaves and twigs, which can block water flow.
- Have no missing shingles or visible wear.
Blocked valleys can result in water pooling, leading to leaks or structural issues over time.
6. Examine Gutters and Downspouts
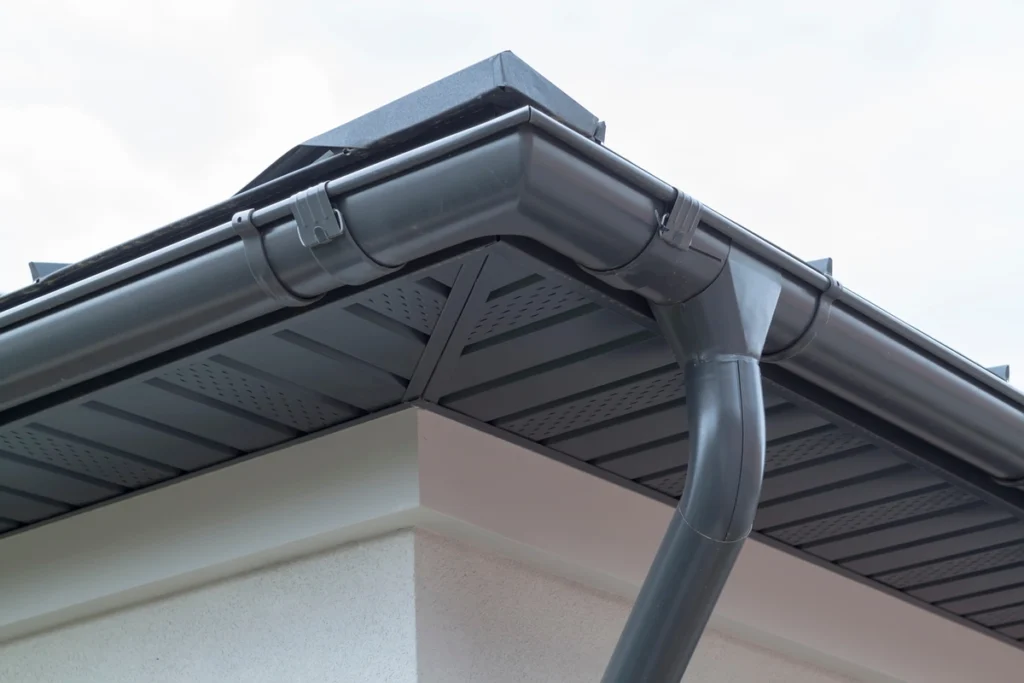
Your gutters and downspouts play a crucial role in directing water away from your home. During your roof inspection:
- Look for clogged gutters and clean them out if necessary.
- Ensure all sections of the gutter are securely attached.
- Check downspouts for blockages or damage.
Also, take note of what’s in the gutters. For instance, if you find shingle granules, it could indicate that your roof is deteriorating.
7. Inspect for Signs of Leaks
Leaks can cause severe water damage inside your home. Signs to watch for include:
- Water stains on ceilings or walls inside your home.
- Mold or mildew growth, especially in the attic.
- Puddles or drip marks in the attic space.
Address leaks immediately to avoid more extensive water-related damage.
8. Check Ventilation
Proper ventilation helps regulate temperature and moisture levels in your attic and roof. Poor ventilation can lead to:
- Ice dams during winter.
- Mold and mildew growth.
- Increased energy bills due to poor insulation.
During your inspection, ensure there is no rust, clogs, or obstructions blocking your vents.
9. Inspect the Chimney
If your home has a chimney, inspect its exterior and surrounding areas. Look for:
- Cracked or missing bricks and mortar joints.
- Gaps between the chimney and roof, which could cause leaks.
- Blocked or damaged chimney caps.
The chimney is a vulnerable spot for structural issues, so don’t skip it during your inspection.
10. Assess Nearby Trees and Overhanging Branches
Inspect the area around your roof for nearby trees or overhanging branches. These can cause:
- Physical damage to the roof during storms.
- Accumulation of leaves and debris in gutters.
- Increased risk of pests and wildlife accessing your roof.
Trim back any branches that could pose a risk to your roof’s integrity.
How Often Should You Inspect Your Roof?
To maintain the health of your roof, follow this inspection schedule:
- Twice a Year: Conduct a roof inspection in both the spring and fall. This schedule helps you catch damage caused by winter weather or prepare for stormy seasons.
- After Severe Weather Events: Inspect your roof after storms, hail, or high winds, even if no immediate damage is apparent.
- When Buying or Selling a Home: A professional roof inspection is recommended during property transactions to ensure the roof is in good condition.
When to Call a Professional
While homeowners can manage many parts of the roof inspection checklist themselves, there are times when professional expertise is necessary:
- Visible Structural Damage: If you notice sagging or significant damage, avoid walking on the roof and call a professional immediately.
- Persistent Leaks: If leaks persist even after repairs, a professional can identify less obvious causes.
- Safety Concerns: Never risk your safety. If you’re uncomfortable climbing onto your roof, hire a licensed inspector or contractor.
Proactive Maintenance Tips to Keep Your Roof in Great Condition
Inspection is only one part of keeping your roof in top-notch shape. Here are a few proactive maintenance tips:
- Clean your gutters regularly to ensure proper water drainage.
- Trim nearby trees and remove overhanging branches to prevent debris accumulation.
- Address small repairs promptly before they develop into significant issues.
- If your roof is aging (15 years or more), consider scheduling an annual professional inspection.
By applying these maintenance tips, you can extend the life of your roof and save on costly repairs.
Overwhelmed? Leave It The The Pros.
Your roof is your home’s first line of defense against the elements, and keeping it well-maintained is essential to protecting both your property and your family. By following this comprehensive roof inspection checklist from an expert commercial roofing contractor, you can tackle minor problems early, ensure the safety of your home, and save money in the long run.
If you’re not confident performing all parts of this checklist or notice serious damage, don’t hesitate to call a professional at Veterans Contracting. With proper care, your roof will continue to provide reliable protection for many years.