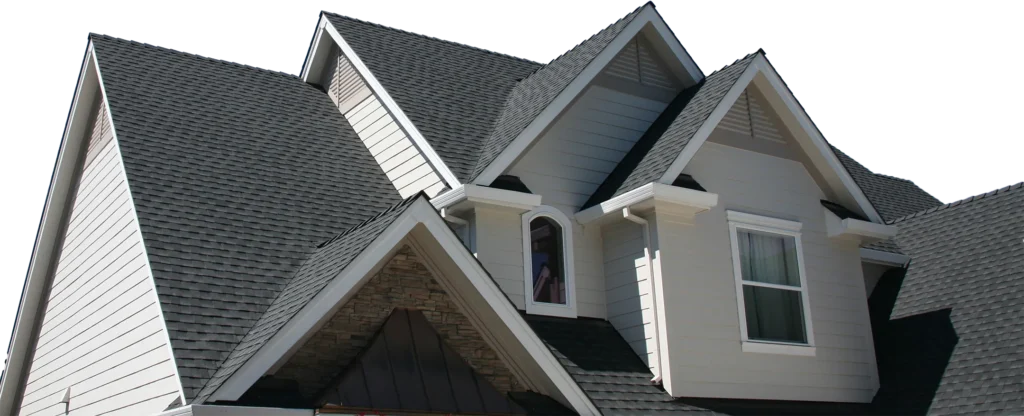
8 Roofing Tools That Are Necessary To Have
If you’re a DIY enthusiast looking to tackle roofing projects, having the right tools is essential.
From ensuring safety to achieving professional results, the right tools can make your roofing job significantly easier and more efficient. We’ll get you prepped for success in this guide, where we’ll explore:
- The must-have roofing tools
- Their uses
- Tips for DIY homeowners
By the end, you’ll be well-equipped to handle your roofing project with confidence.
Why Roofing Tools Matter
Roofing is not a job for the faint-hearted. It’s labor-intensive, requires precision, and can be risky if you’re not well-prepared. Using the appropriate tools ensures:
- Safety: Proper tools help prevent accidents and injuries.
- Efficiency: The right tools can significantly speed up your work.
- Quality: High-quality tools result in a professional finish.
- Durability: Good tools last longer, making them a worthwhile investment.
8 Essential Roofing Tools for DIY Homeowners
Ready to jump in? Make sure you have all of these tools for a smooth project from start to finish!
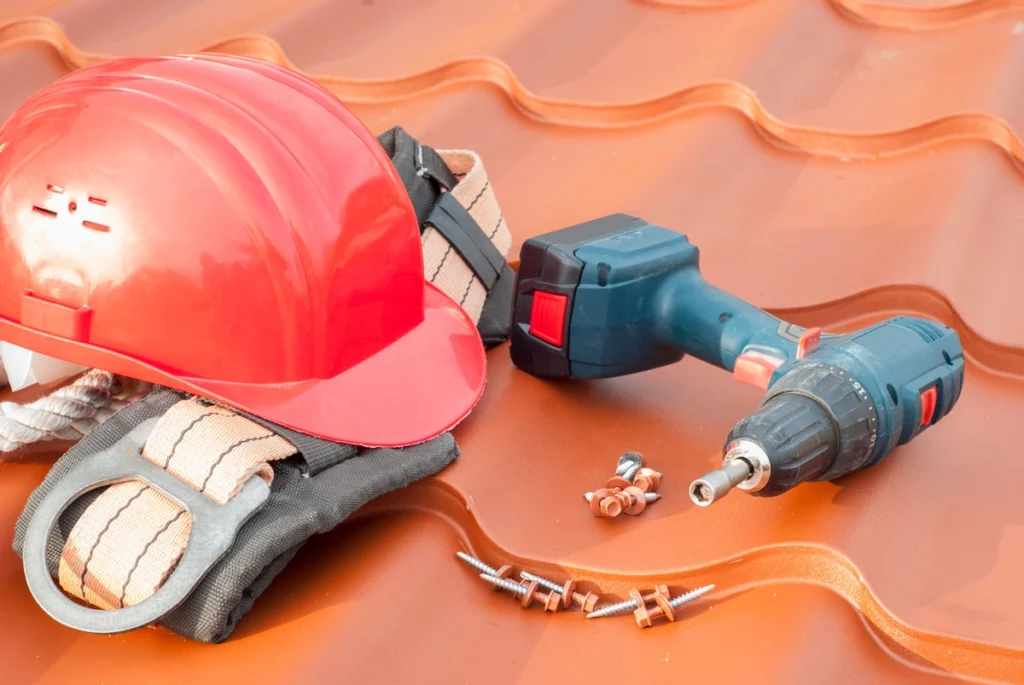
1. Safety Gear
Before you even set foot on the roof, ensure you have the necessary safety gear. Safety should always be your top priority.
- Safety Harness: Protects you from falls, especially when working on steep roofs.
- Roofing Boots: Provides good grip and stability on slippery surfaces.
- Helmet: Protects your head from falling debris.
- Gloves: Protects your hands from cuts and abrasions.
- Safety Glasses: Shields your eyes from dust and flying nails.
2. Ladders and Scaffolding
Accessing the roof safely is crucial. Investing in the right ladders and scaffolding can make a huge difference.
- Extension Ladder: A sturdy ladder that can reach high rooftops.
- Roof Ladder: Hooked at the ridge to provide a secure working platform.
- Scaffolding: Offers a stable platform when working at the roof edge or gutters.
3. Measuring Tools
Accuracy is key in roofing. Proper measurements ensure that your materials fit perfectly.
- Tape Measure: A durable tape measure for accurate measurements.
- Chalk Line: Helps create straight lines for cutting and aligning shingles.
- Level: Ensures all your surfaces are even and correctly aligned.
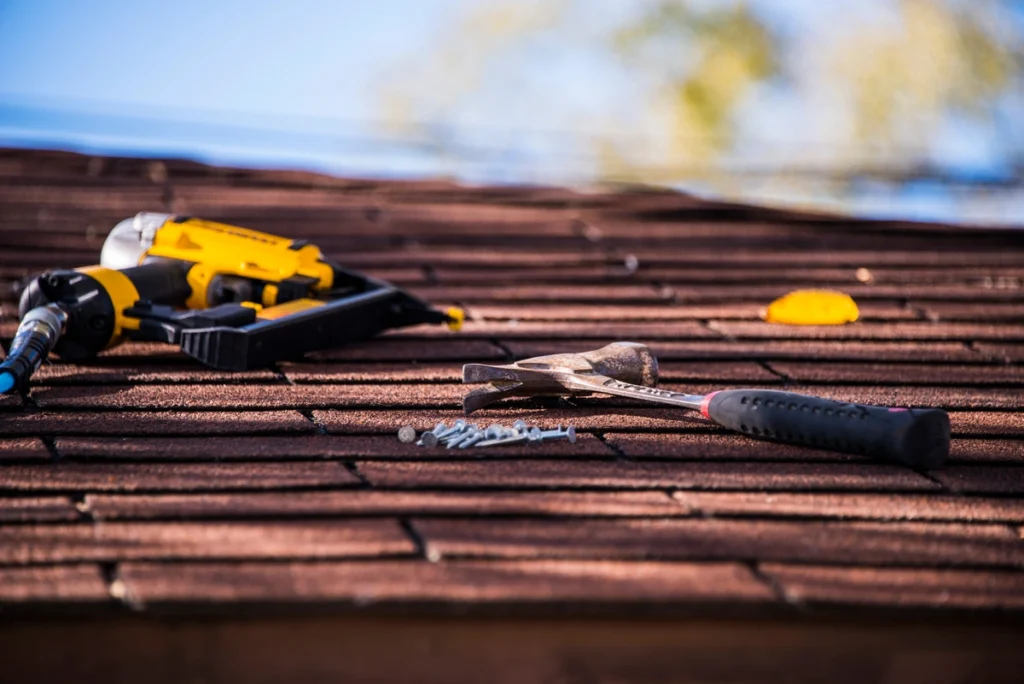
4. Cutting Tools
Cutting shingles, flashing, and other materials to the correct size is an unavoidable task in roofing.
- Utility Knife: Ideal for cutting shingles and underlayment.
- Tin Snips: Used for cutting metal flashing and vents.
- Circular Saw: For cutting plywood and other larger materials.
5. Roofing Hammer or Hatchet
A roofing hammer, also known as a hatchet, is a versatile tool used for driving nails and splitting shingles.
- Claw Hammer: A standard hammer for general use.
- Roofing Hatchet: Often features a blade on one side for splitting shingles, and a hammerhead on the other for driving nails.
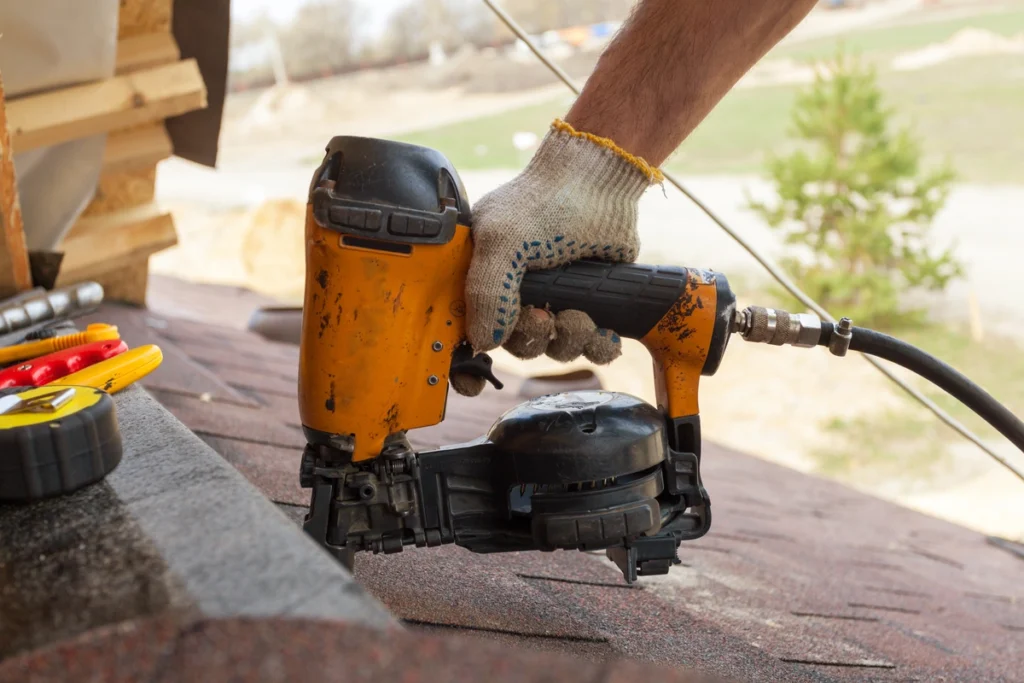
6. Nail Guns and Staplers
Manual nailing can be time-consuming and tiring. Pneumatic tools can speed up the process.
- Roofing Nail Gun: Specifically designed for driving roofing nails quickly and efficiently.
- Stapler: Useful for securing underlayment and insulation.
7. Pry Bars and Shingle Removers
Removing old shingles and materials requires the right prying tools.
- Flat Pry Bar: For lifting shingles and removing nails.
- Shingle Removal Tool: Designed specifically for stripping shingles.
8. Roofing Materials
Having the right materials on hand ensures a smoother workflow.
- Shingles: Asphalt, wood, metal, or tile, depending on your preference and budget.
- Underlayment: Provides an additional layer of protection against water infiltration.
- Flashing: Prevents water from seeping into joints and edges.
Step-by-Step Guide to Roofing Your Home
If you’re an ambitious DIYer, installing a new roof may be one of your goals. We’ve broken down all the key steps for a safe and long-lasting roof replacement for you!
Step 1: Preparation
Before you start, gather all your tools and materials. Ensure you have the necessary permits if required in your area.
Step 2: Safety Setup
Set up your safety gear. Attach your safety harness to a secure anchor point. Place ladders and scaffolding securely.
Step 3: Remove Old Roofing
Use pry bars and shingle removers to strip away old shingles and underlayment. Dispose of debris responsibly.
Step 4: Inspect and Repair
Inspect the roof deck for damage. Replace any rotten or damaged plywood. Ensure the surface is clean and smooth.
Step 5: Install Underlayment
Roll out the underlayment across the roof deck. Secure it with staples or roofing nails, ensuring it’s flat and free of wrinkles.
Step 6: Apply Flashing
Install flashing around chimneys, vents, and roof edges. This prevents water from seeping into joints.
Step 7: Lay Shingles
Starting from the bottom edge, begin laying shingles. Use your chalk line to ensure they’re straight. Nail them securely, following the manufacturer’s instructions.
Step 8: Finishing Touches
Install ridge cap shingles along the roof peak. Check for any loose shingles or nails. Clean up the site, removing all debris and tools.
Tips for DIY Roofing Success
Want to ensure a successful project? It all comes down to the following:
- Check the Weather: Ensure you have a few days of clear weather before starting. Rain can severely disrupt your progress and compromise the quality of your work.
- Work in Teams: Roofing is a labor-intensive job. Having a few extra hands can make the process faster, safer, and more enjoyable.
- Stay Hydrated: Working on a roof can be physically demanding, especially in hot weather. Drink plenty of water and take regular breaks.
- Follow Manufacturer’s Instructions: Different roofing materials and tools have specific installation guidelines. Always follow the manufacturer’s instructions to ensure the best results.
- Regular Maintenance: After completing your roofing project, conduct regular maintenance checks. This helps identify and address any issues before they become significant problems.
Roofing Professionals When You Need Us Most
Roofing your home as a DIY project can be incredibly rewarding and cost-effective. With the right tools and a careful approach, you can achieve professional-quality results. Remember, safety should always be your top priority, so invest in proper safety gear and don’t rush the process.Need more personalized advice or recommendations on roofing tools? Reach out to Veteran’s Contracting for expert roofing assistance that you can count on!